
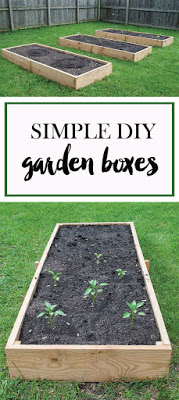
Simple DIY Garden Boxes
Since we bought our house last winter I was dreaming of being able to build garden boxes to grow veggies. A few weeks ago we finally were able to tackle the project. If you have a drill and a hammer you can do this, a miter saw or circular saw would help, but you can always have Home Depot make your cuts for you for a small fee.
We built 3 boxes 3' x 8' to start us off, and honestly I could easily fill at least 3 more boxes with plants and cutting flowers. 3 foot wide really felt like the right width for the box so I could easily reach the middle. I did get out my measuring tape in the middle of the store and measure 4', knelt down and pretended to garden and reach into the middle just to see if I liked the 4' width. I see people making boxes that are 8'x 8' or even 12'x 12' how do they reach the middle to pull weeds and harvest?! Do they have super long arms, magical levitation powers, helpful garden gnomes? I need to know.
Buy List
9 - 2" x 10"x 8' lengths pressure treated wood
3 - 2" x 2"x 8' lengths pressure treated wood
2 1/2" Screws for pressure treated wood (these are specially coated to hold up over time)
Cut list
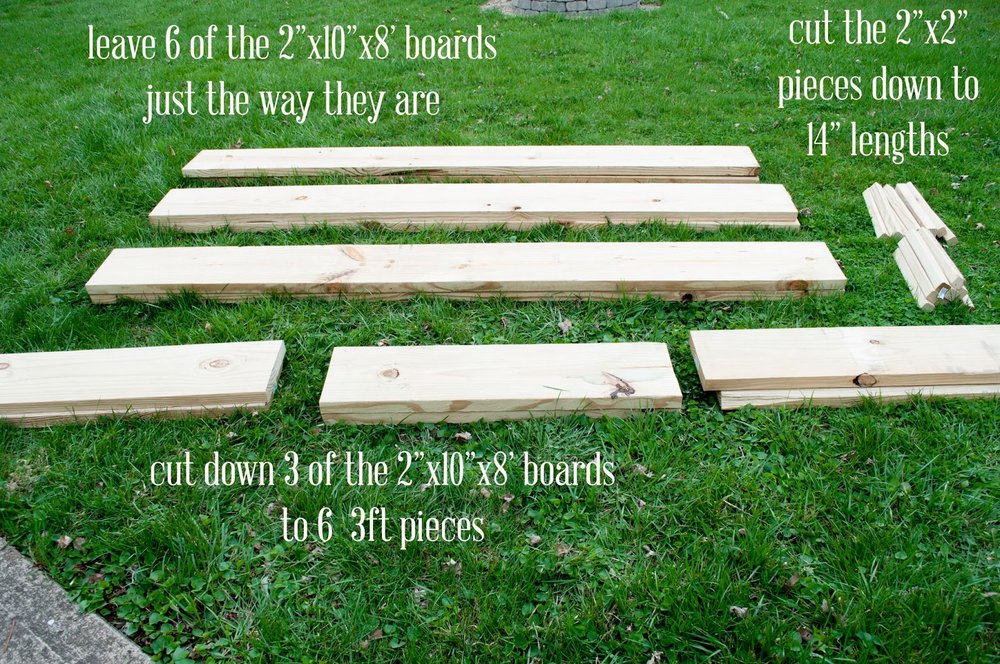
Build Plan
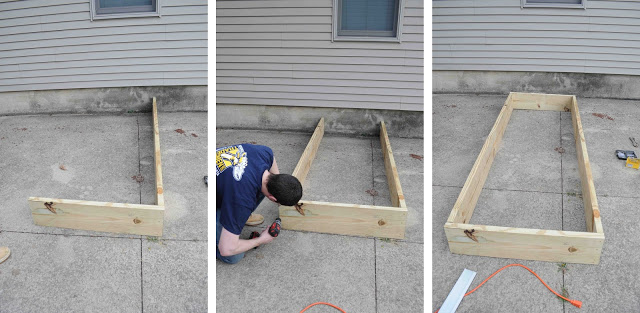
1. Working on a level (ish) surface we attached the first 3' board to the 8' board. Paul drilled pilot holes to reduce the chances of the wood splitting, and we used three screws to attach each board.
2. We did the same process to attach the second long board.
3. Repeat again for the last 3' side and behold a box. Assemble your last two boxes in the same way. I did call these simple, and I really meant it.
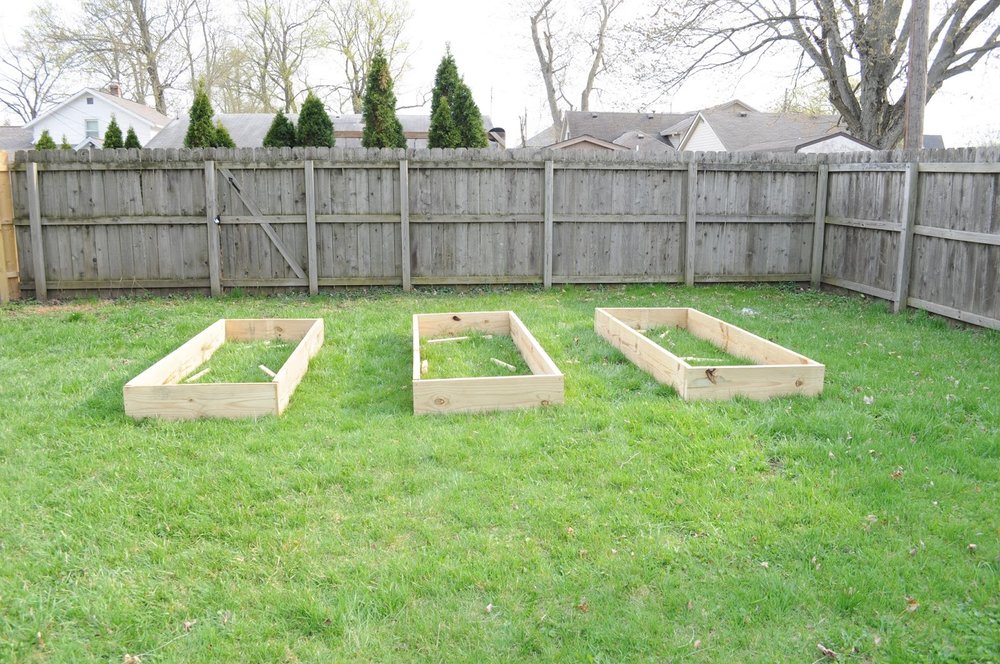
4. Carry your boxes and place them where you want. I used a measuring tape to keep mine straight and consistent.
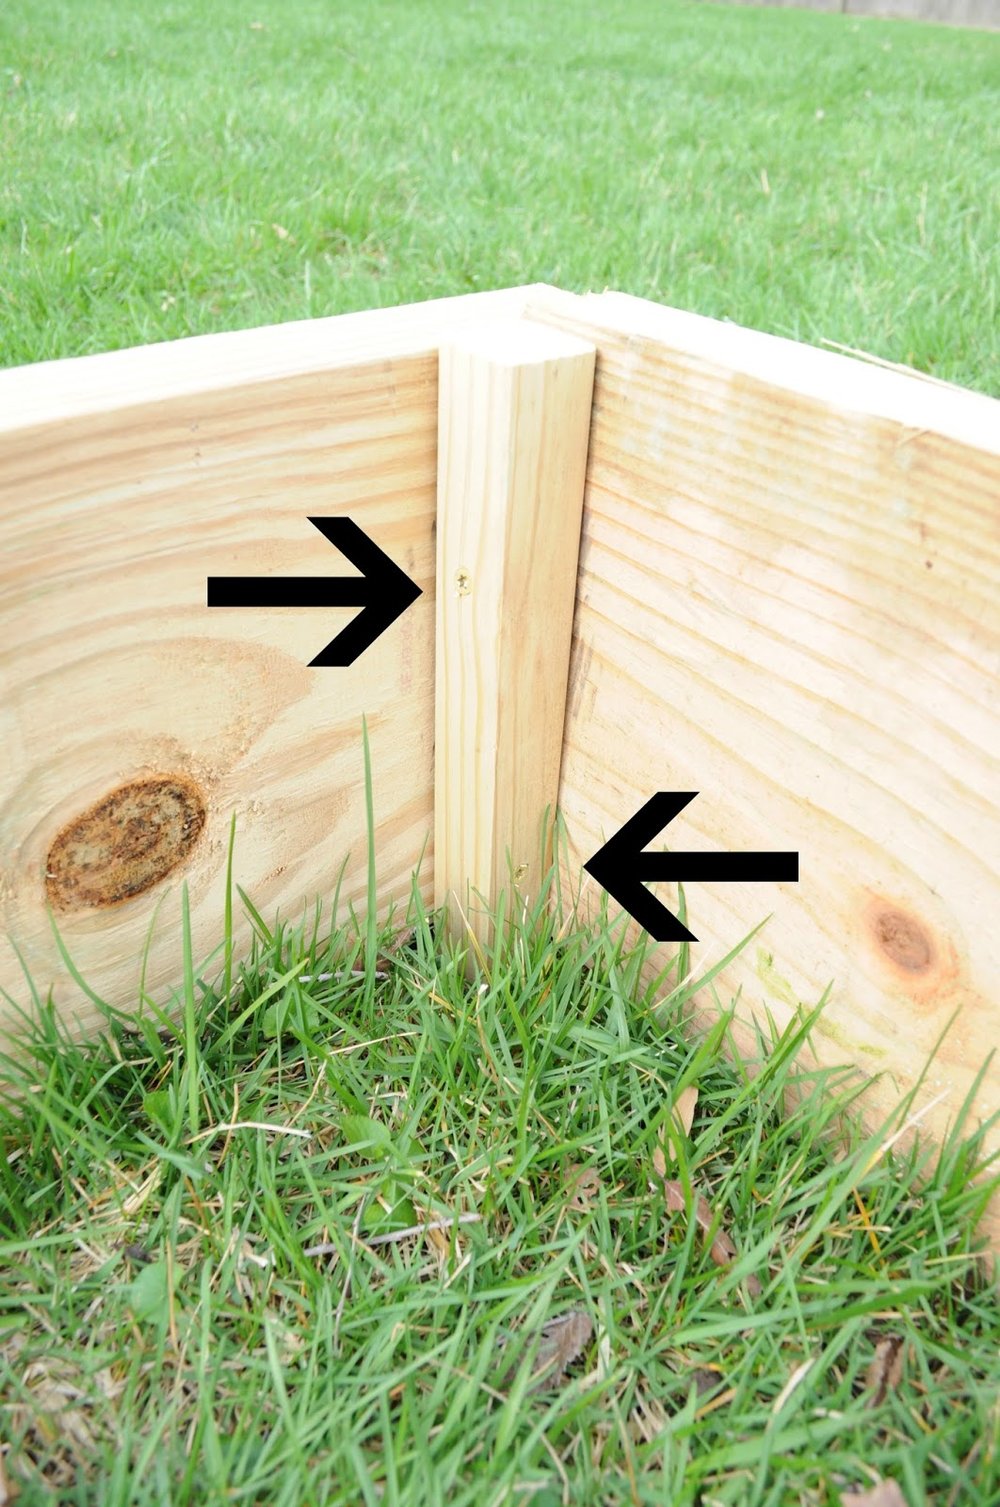
5. If you need to do any leveling of the boxes, do so before anchoring your boxes. To anchor your boxes use your 14" 2"x 2" pieces of wood and pound them into the ground at the 4 corners on the inside of the boxes and then 1 on each side of the middle of the box on the outside. These middle outside posts are to act as a brace over time as the weight of the dirt presses against the long section of your box. If your dirt is too hard to just pound them in, you might have to dig a bit, or use PVC core a hole out. Basically pound the PVC into the ground and pull it out leaving a nice starter hole to put your post. It was like a giant aerator hole and worked like a charm for us.
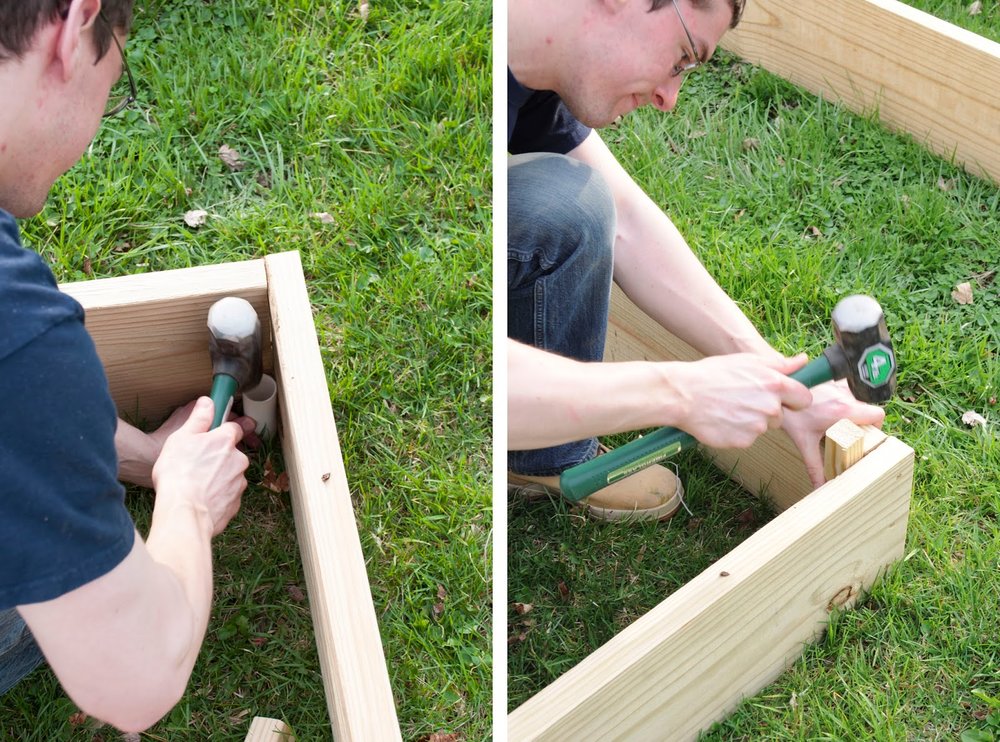
6. Once your posts are in place attach them to the box. I used 2 screws one coming from each side to anchor it to both of the boards. Repeat on all the posts. On the posts that are on the outside of the boxes just screw them in from the outside.
7. Before filling the boxes with dirt and planting, we've got to kill the grass, because who wants grass growing up with their veggies. I used cardboard with some bricks on top to keep it in place because Indiana decided to become the windy state.
8. Once the grass had died down, we did have to pull a bit growing around the edges before filling the boxes with dirt. We kept a layer of cardboard in the bottom to help control the weeds. For our 3 boxes we used 1.5 cubic yards. We could have used a smidgen bit more on the last box, but it wasn't worth the trip back to just get a little more dirt. Since our dirt would settle some during the year next spring I will just top off a bit more as needed, no biggie.
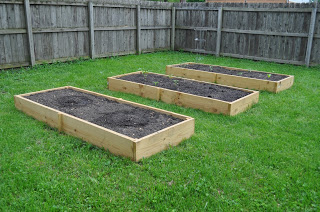
Our veggies have been in the ground for a few weeks now and they are doing fairly well.
Do you grow a vegetable garden? What is your favorite veggie to grow?
Note: Let's also be aware there are so many ways to build boxes, and so many materials you could use. I chose to use pressure treated because after reading many articles about the new ways the wood is treated I felt it ok to use. I totally understand if you don't agree with me, do you research, and you do you. I'm just sharing what we did, by no means am I saying it is the right way or the only way
-Meg